Products
Application Development
Postman Collection
One of the quickest ways to play around with Paxful API without having to configure a development project is by using Postman. This guide will show you the steps you need to follow in order to run your first authorized request in Postman. Before looking at the configuration steps below it is worth mentioning that we have a prepared and regularly updated Postman collection which contains all endpoints that our API provides so you won’t need to do anything manually - just import our collection and start sending requests right away.
- In this tutorial we will use OAuth2 flow. This flow requires you to get an “App ID” and “Secret”, so please go ahead and Create an application. You can choose any name you’d like for now as this is not going to be visible anywhere if you are using it only for Postman. Once you have created an application you will be able to see “App ID” and “Secret”, you will need to use them later.
- Before we switch to configuring Postman you need to add Paxful API to your application. While still being on your application summary page in the developers portal, select “Products” tab and then click “Add to App” button next to Paxful API.
- Once you have “App ID” and “Secret”, then you can spin up a Postman by clicking this link. You will be asked where you’d prefer to use this collection - for the sake of this guide please choose to use a desktop client.
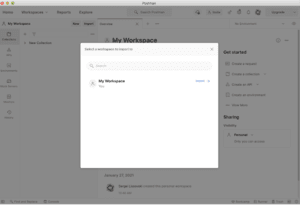
- When Postman is launched you will be prompted to select a workspace where you would like the collection to be imported. If it happens that the workspace selection dialog is not presented, then please try pressing import postman collection again.

- Once you have a collection imported, Paxful API collection should be visible in the left panel under a tab “Collection”, please click on it.
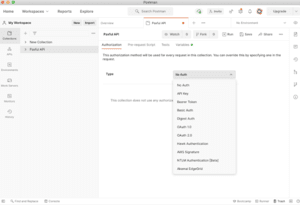
- The next step is to configure authorisation flow, for that we need to select “OAuth 2.0” in “Type” field:
- When you selected “OAuth2” then a configuration screen will appear, there you need to use the following values:
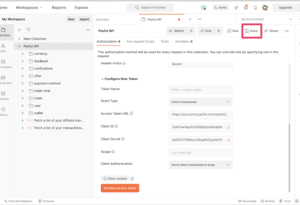
Grant Type Client Credentials Access Token URL https://accounts.paxful.com/oauth2/token Client Authentication Send client credentials in body Client ID ”App ID” from the application in developers portal Client secret “Secret” from the application in developers portal Once the said fields are filled out, press the “Get New Access Token” button at the bottom of the screen and press the “Update” button. Other fields may be left untouched.
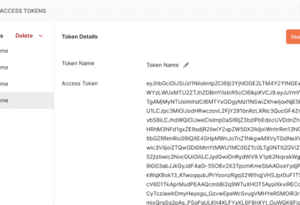
- It will take a few seconds to fetch your access token. Once Postman has received it, you will see a similar dialog. There you need to press the “Use Token” button.

- After that, you will be back to the main Postman screen, where you need to press the “Save” button.

- Now, you can select any endpoint and start experimenting with Paxful API.
