Products
Application Development
Accessing APIs
By now you should have an application created and a Paxful API product added. If not, please refer to Creating Your Application and Adding API Products.
As mentioned before, the applications support 2 flows:- When you as a developer automate some operations on your own account
- When you want to automate operations on other user’s behalf without them creating an application and sharing keys with you
In this guide and the ones that follow, we’ll show you what you need to do to automate operations on behalf of other users. The good news is that you don’t need to do anything yourself to get a working demo application that shows the whole integration process.
When you create a new application, the ‘Sign in with Paxful’ product is added automatically. ‘Sign in with Paxful’ plays an integral part in how you build and distribute your applications. It allows you to place a button on your website and when a user clicks on it they will be presented with a list of operations that you as a developer would like to perform on their account. If the user agrees to that, you’ll receive APIs keys that can be used to invoke requested operations on behalf of the user. In summary, the process looks like this:
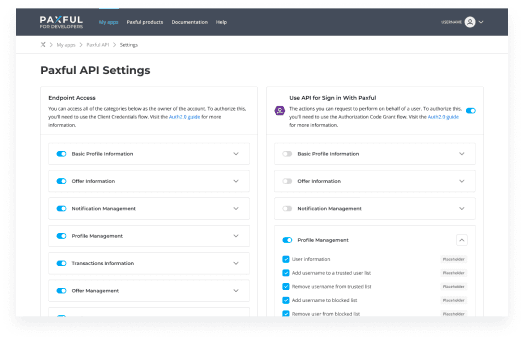 1. Create an application and choose operations that you want to request from a user.
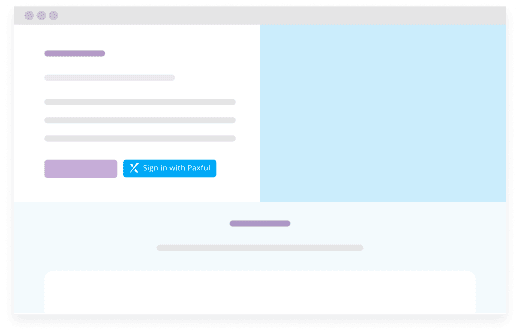 2. Install a ’Sign in with Paxful’ on your website.
 3. When user presses the button he will be redirected to page where he can review operations that your are requesting.
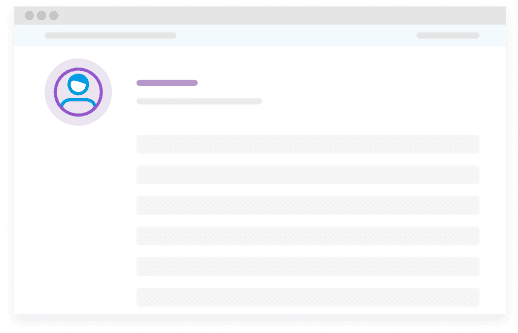 4. If user approves requested operations your application will receive API keys that it can use to invoke the requsted operations on behalf of the user.
 In order to access a demo application, you’ll need to go to the ‘Products’ tab in your application and click ‘See integration guide’.
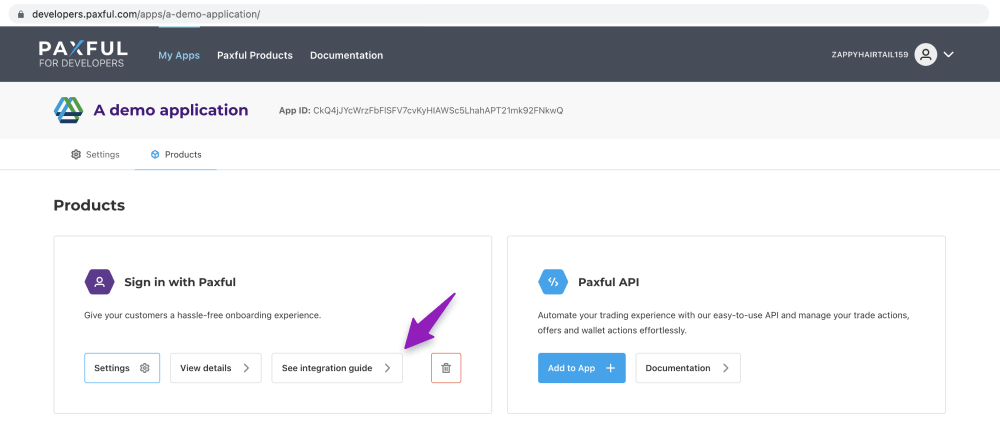
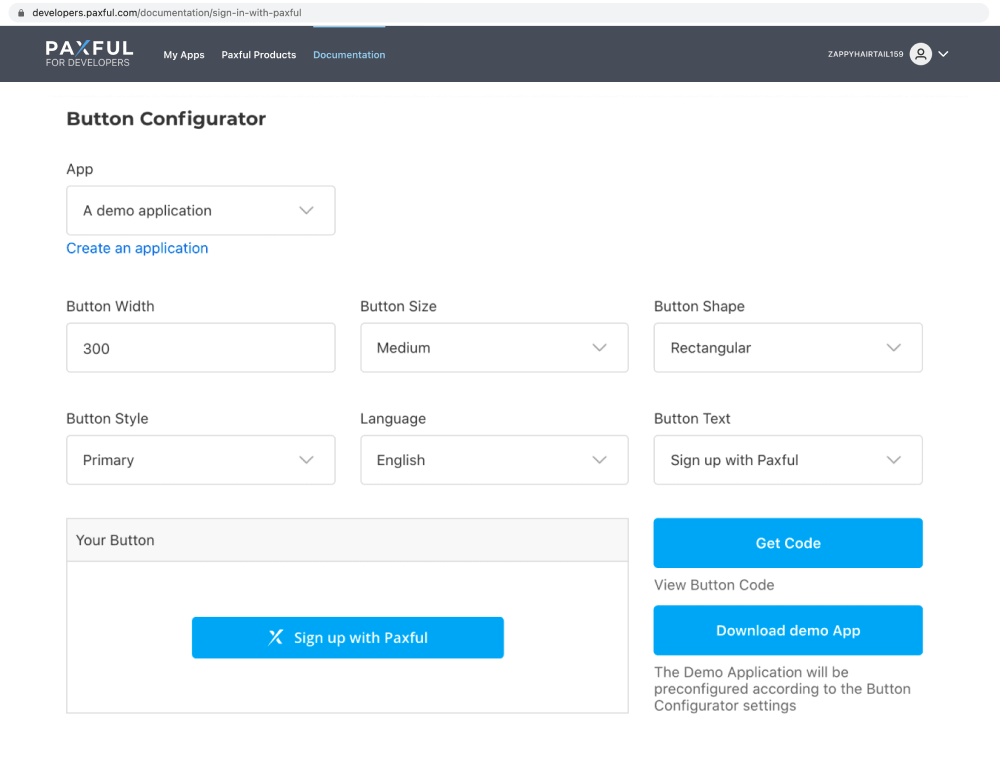
After this you’ll be redirected to a demo application configuration page, where you can configure the look and feel of the button that you’ll later integrate into your website. Your application will be automatically pre-selected for you, and you can see the integration code by clicking ‘Get code’.
To download a working demo application, just press a ‘Download demo App’ button, unzip the downloaded archive, and look at the README.md for guidance on how to run the application (it’s only one command).
By default, the demo application will only request very basic operations, data from a user, profile information, email address, verification status, but it’s enough to illustrate the whole flow.